
My journey with zinnias started about six years ago. I bought seed packets at a big box store and sprinkled them into several planters. Some of them actually grew! My passion for these beauties blossomed! The next year I decided to up my zinnia game and ordered several beautiful varieties. I was able to germinate quite a few in seed trays and after transplanting they grew to a height of just 10-12”, nothing like the photos of the long stem varieties I had seen for cutting. Upon several requests and help from Facebook posts, I realized I had bought and planted hundreds of border zinnias that stay short and compact for landscaping. They were beautiful, but not the best start for a 1st year flower bouquet grower. Later that year, I found “Floret Farm’s Cut Flower Garden: Grow, Harvest, and Arrange Stunning Seasonal Blooms” and it changed everything. Long stem zinnias are now a must for my flower bouquets.
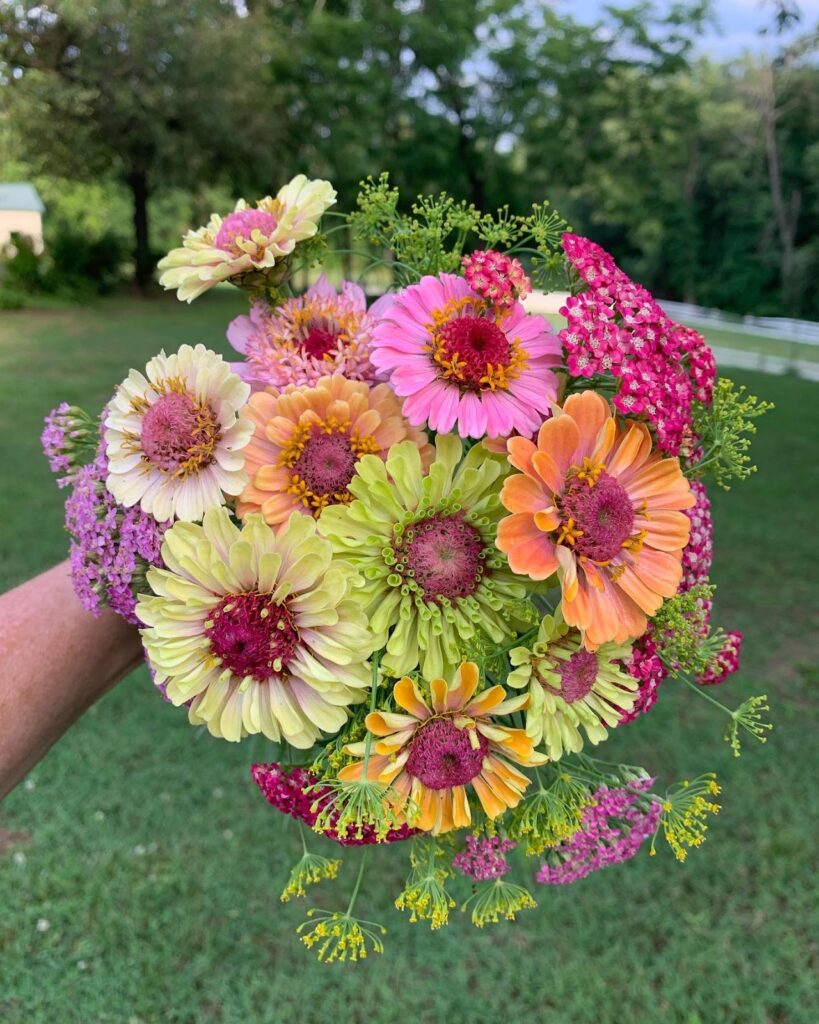
Seedlings
We plant hundreds of zinnia seedlings at the end of April after the last frost. Seeds are started indoors using 72-hole seed trays with fluorescent lights and humidity domes. I have found zinnia seeds to have amazing germination. They are usually poking out of the soil in a few days. I let them stay under lights for several weeks and then move them to our tiny 10′ x 12′ greenhouse. Never let them dry out (soil should be moist to touch) and every other week I add seaweed fertilizer to the water.
Zinnia seedlings, like all seedlings, need to be “hardened-off”. Hardening-off is the process of slowly adding sunlight. Start with one hour and increase sun exposure every couple of days until they’re ready to plant in their final destinations. As they mature, zinnias need full sun. I have found them to be very drought tolerant. Be careful not to over water, only when they start to look dry.
Planting
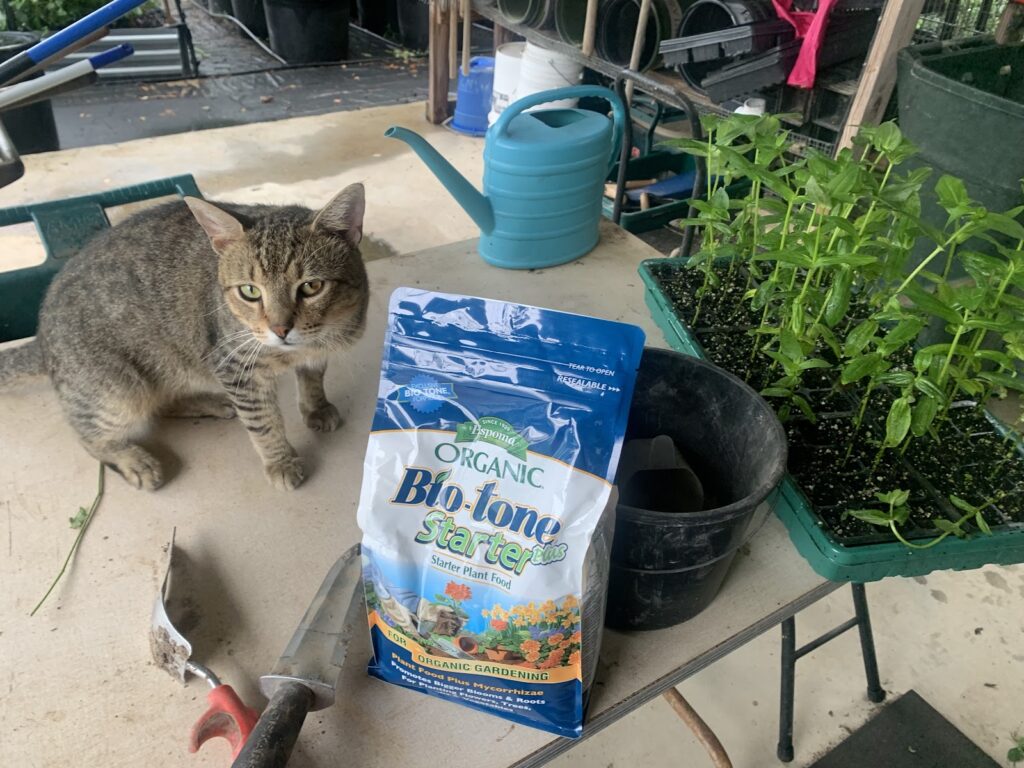
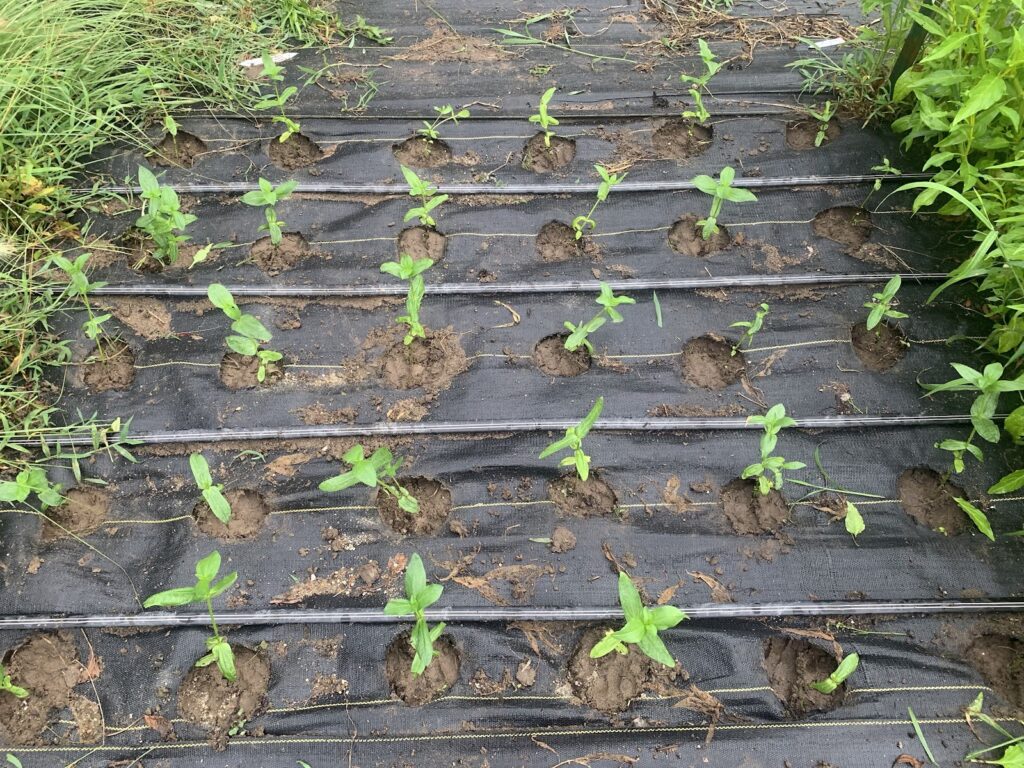
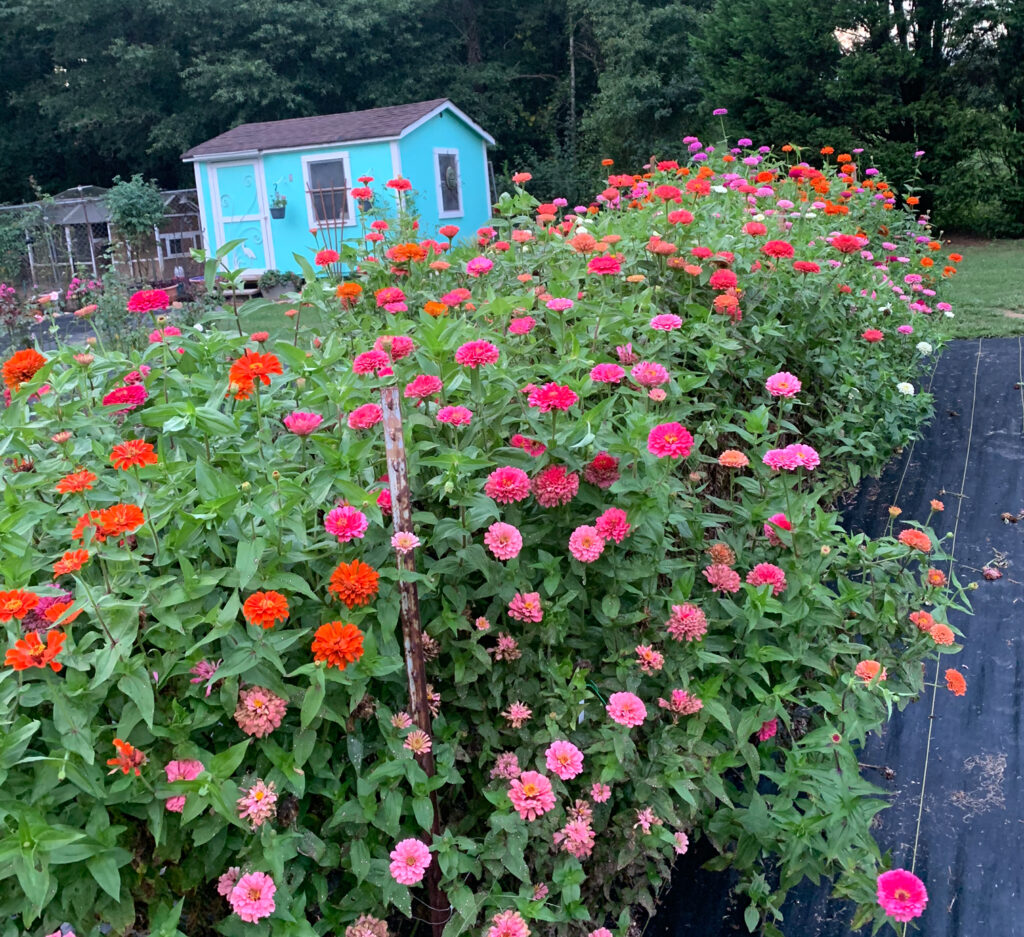
When planting, I try to find a couple of overcast days to help the seedlings adjust gently to their new homes. I plant in beds that I amend every year with certified organic compost. I use Dewitt landscaping fabric with pre-burnt holes every 9” to help suppress weeds and keep the soil from drying out. I use a Hori Hori Knife to make a hole and then add a teaspoon of Espoma Biotone plant starter and 1-2 cups of water, then plant. This is the only fertilizer I use on zinnias all year.
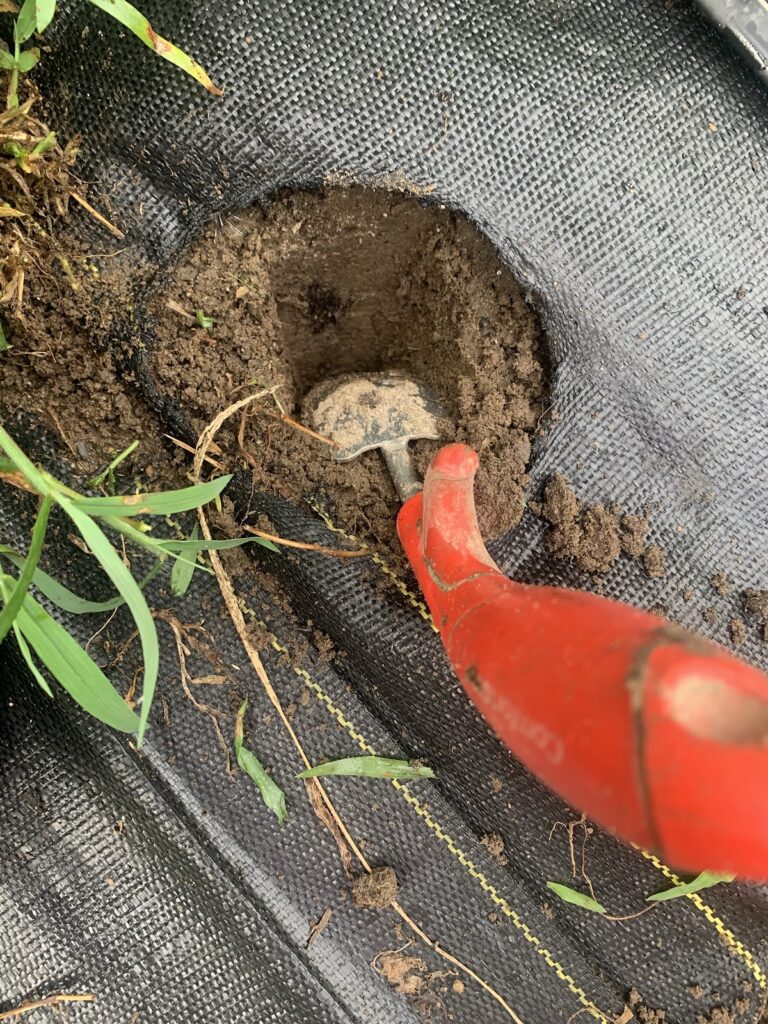
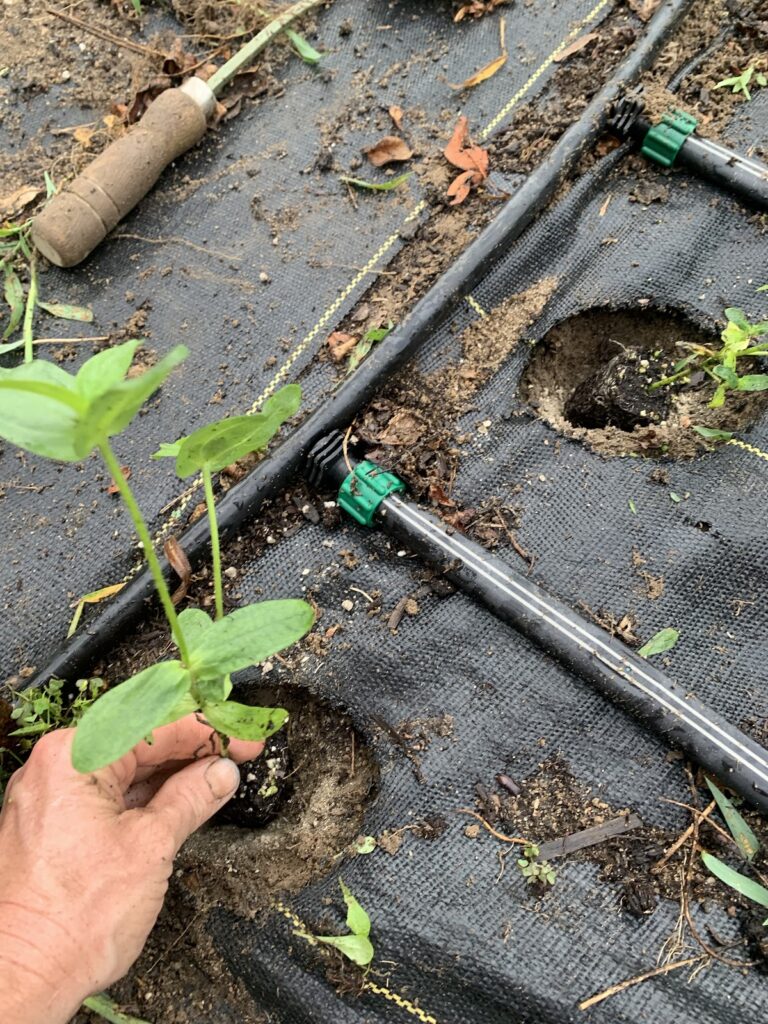
Note the drip irrigation, which I strongly recommend here.
Pinching
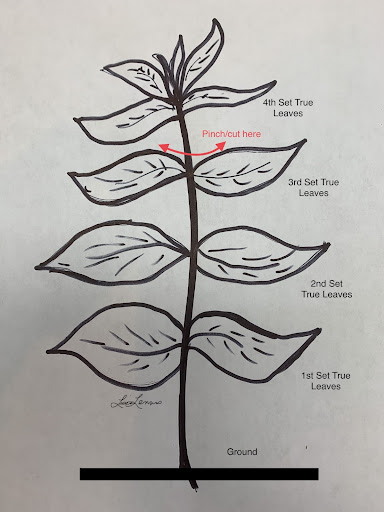
When the plants are 18″ – 24” tall, you need to pinch (remove by cutting) the center stalk. It feels wrong to cut the growth off the flower you just worked so hard to plant, but doing this will make more long-stemmed flowers.
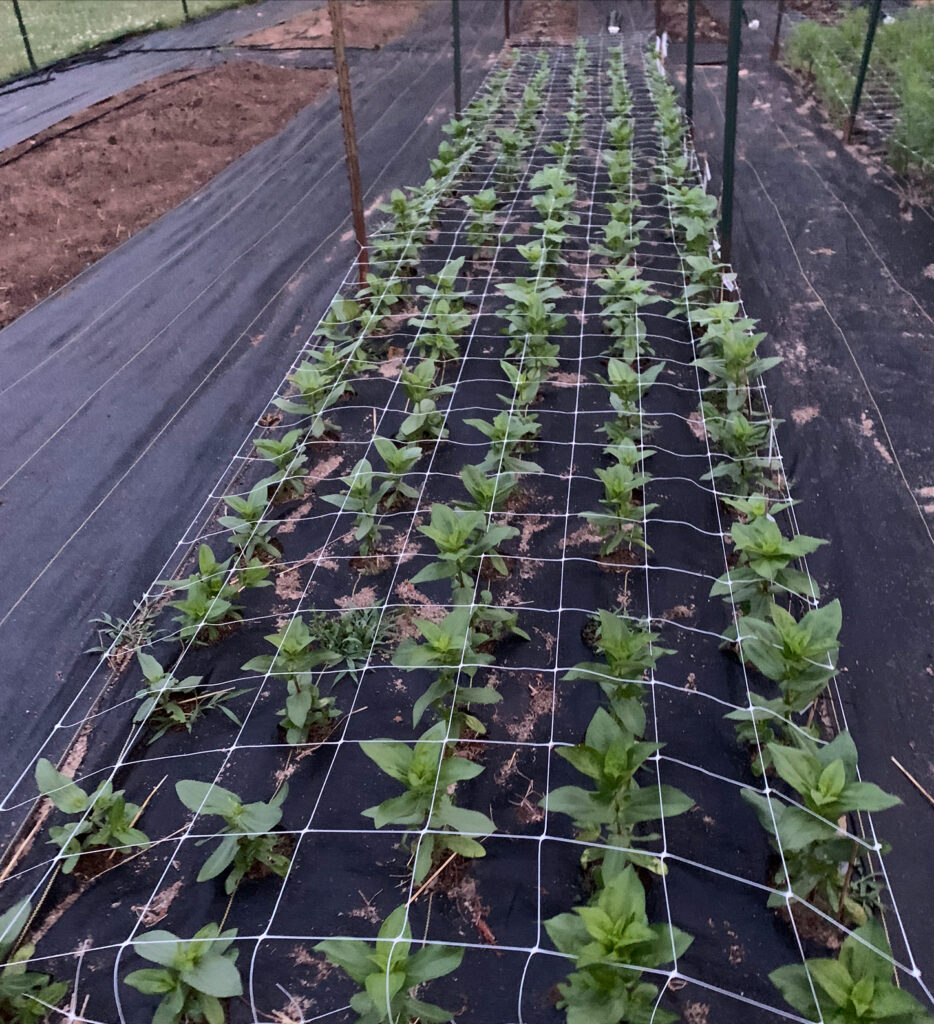
Netting
After pinching, I add my Hortonova netting. I put a T-post every ten feet and add the 4’ netting down the row to support the plants. You will start to see buds form and have flowers in 4-6 weeks. It’s amazing how quickly they take off!
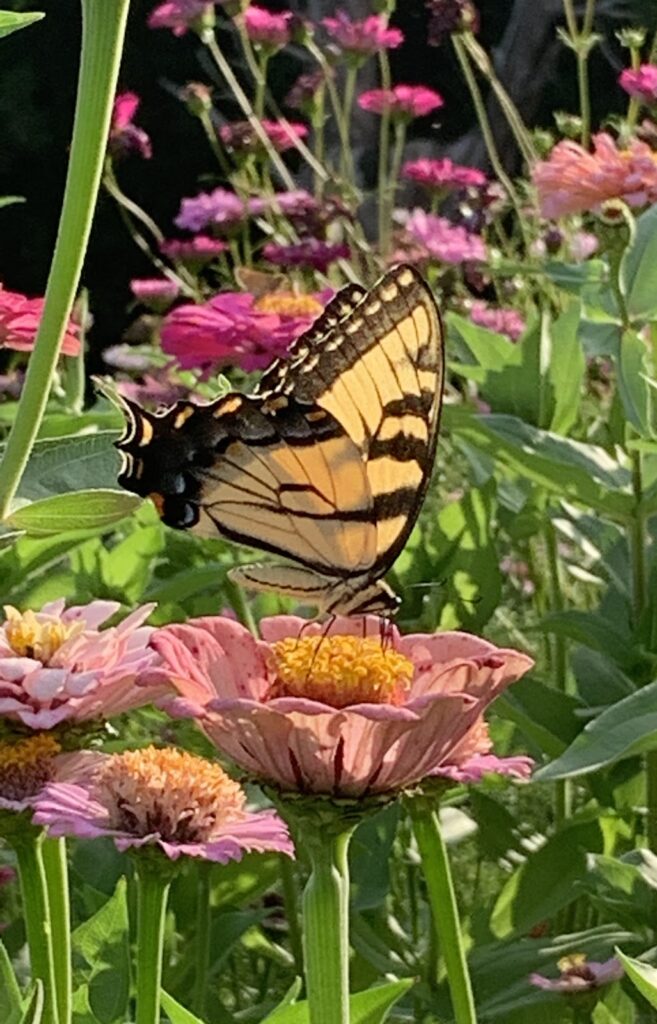
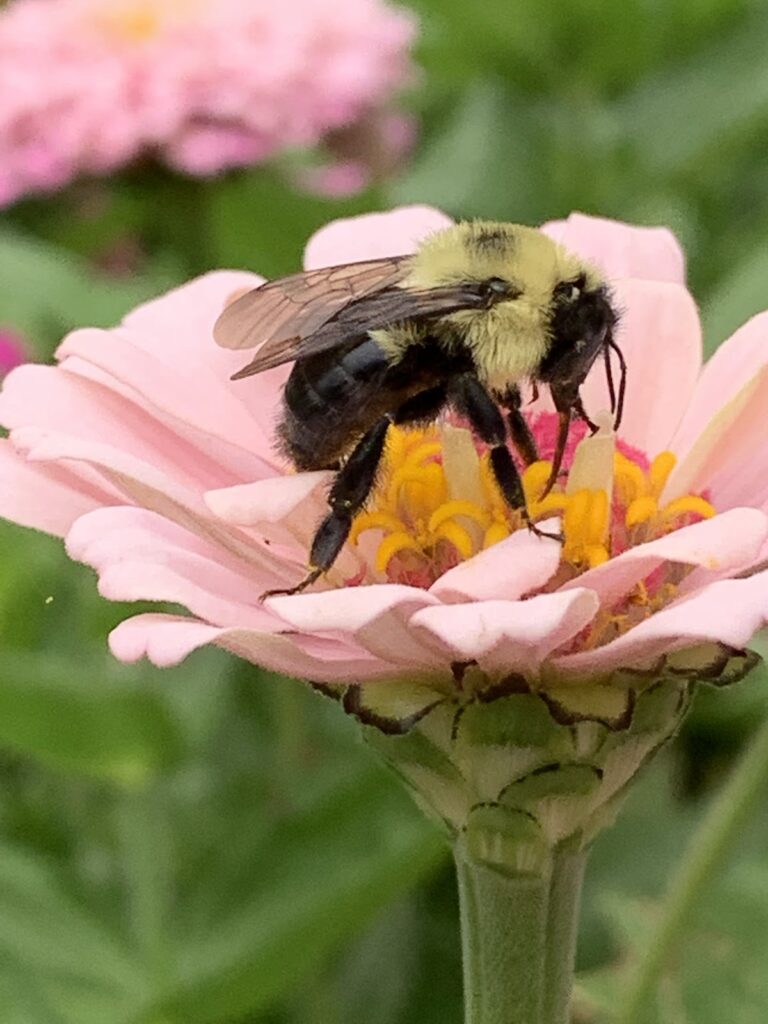
Blessed with beneficial insects
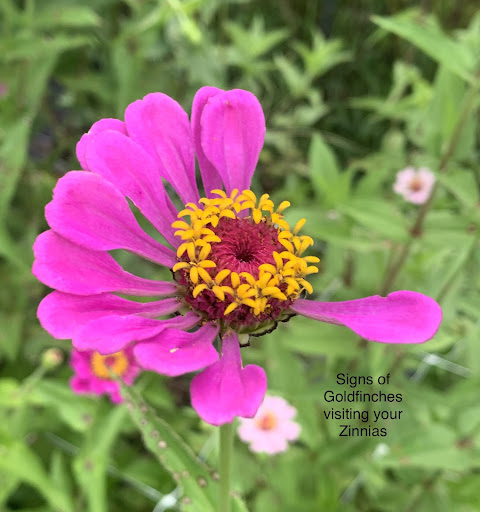
We are not the only creatures that love zinnias. You will have bees, butterflies, hummingbirds, and beautiful Gold Finches that love zinnia seeds. The finches will pull the petals out to get to the seeds. Don’t worry, just plant enough to share. It’s never been a problem for me and I love their sweet bird calls in my garden.
Dealing with pests
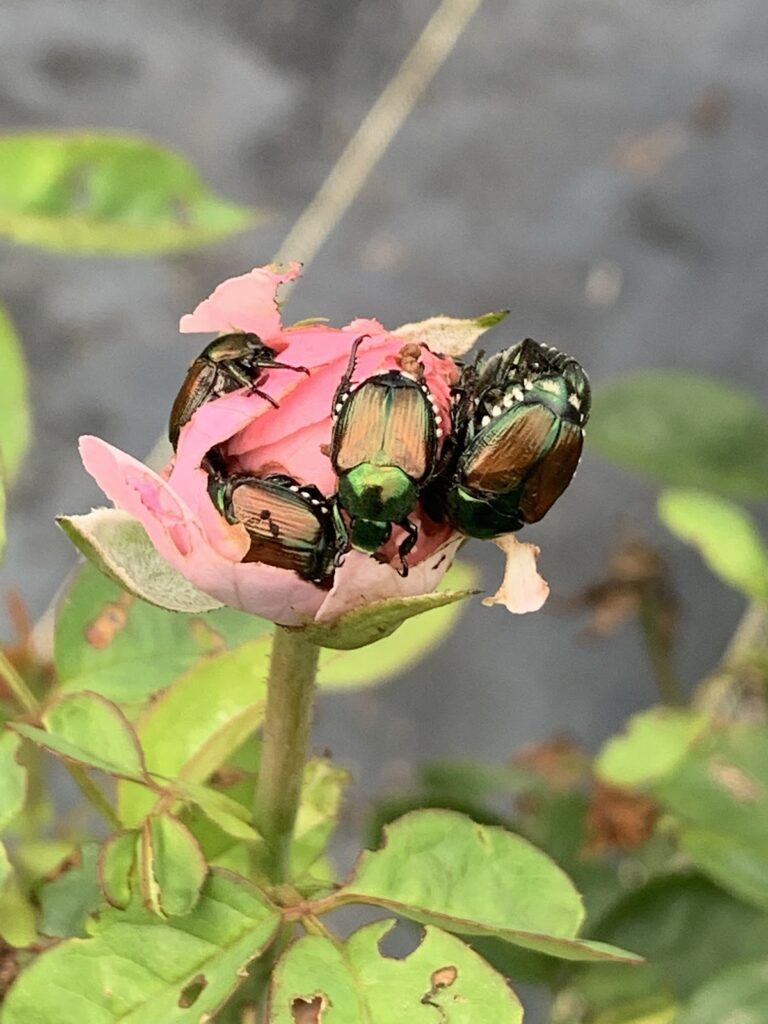
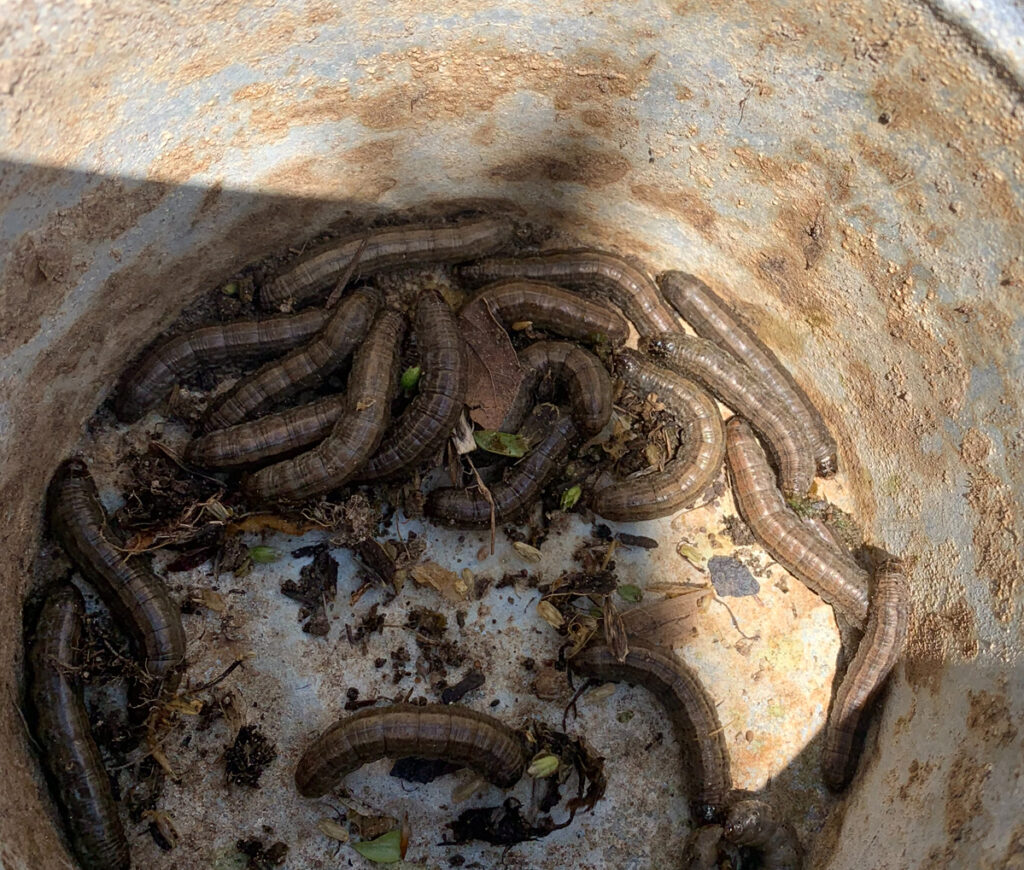
You’ll also have plenty of less than desirable creatures. The most destructive pests I deal with are cutworms when the seedlings are small and Japanese beetles later when the blooms emerge. I have a completely organic garden (no pesticides, ever) and if I find cutworm damage I will gently dig around the base of the plant and find the culprits. I gather them in a pail and give them to my chickens for a protein-packed lunch. For Japanese beetles, I carry around a small bucket with soapy water and collect them. If you have roses growing close to your zinnias, the Japanese beetles will always target the roses first.
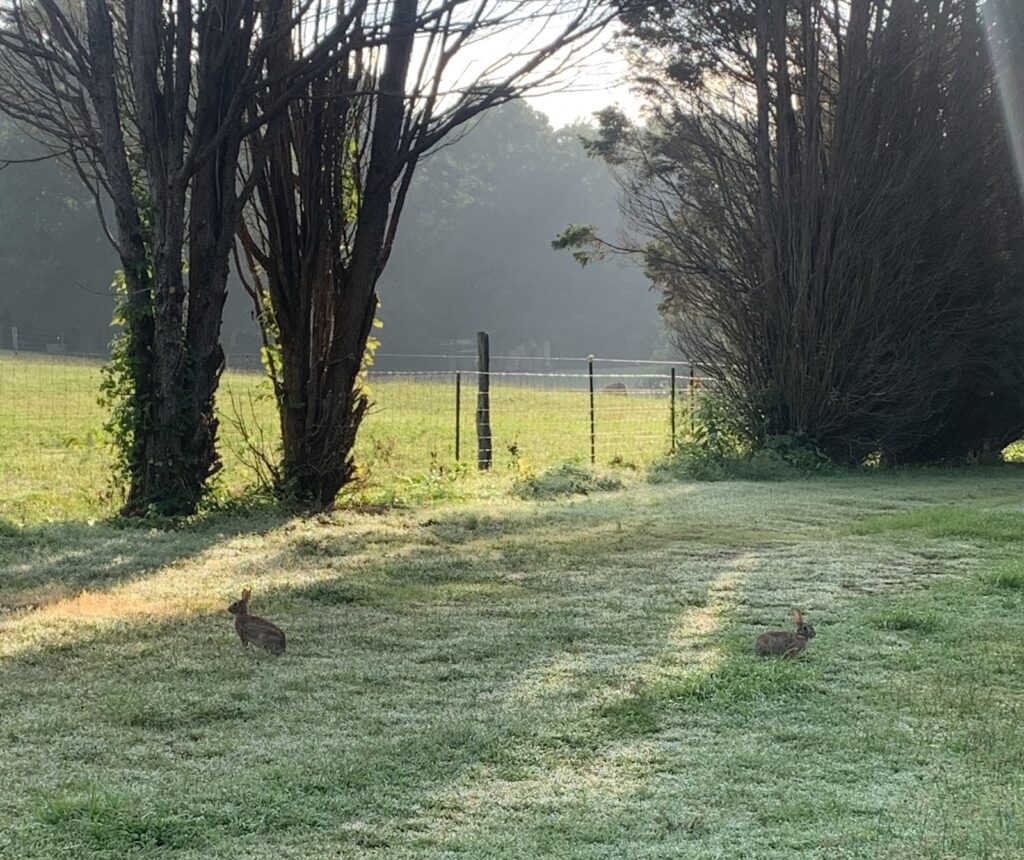
I have also had problems with rabbits, groundhogs and the occasional deer. You will know it’s a larger animal if the plant’s top is completely gone.
Another problem
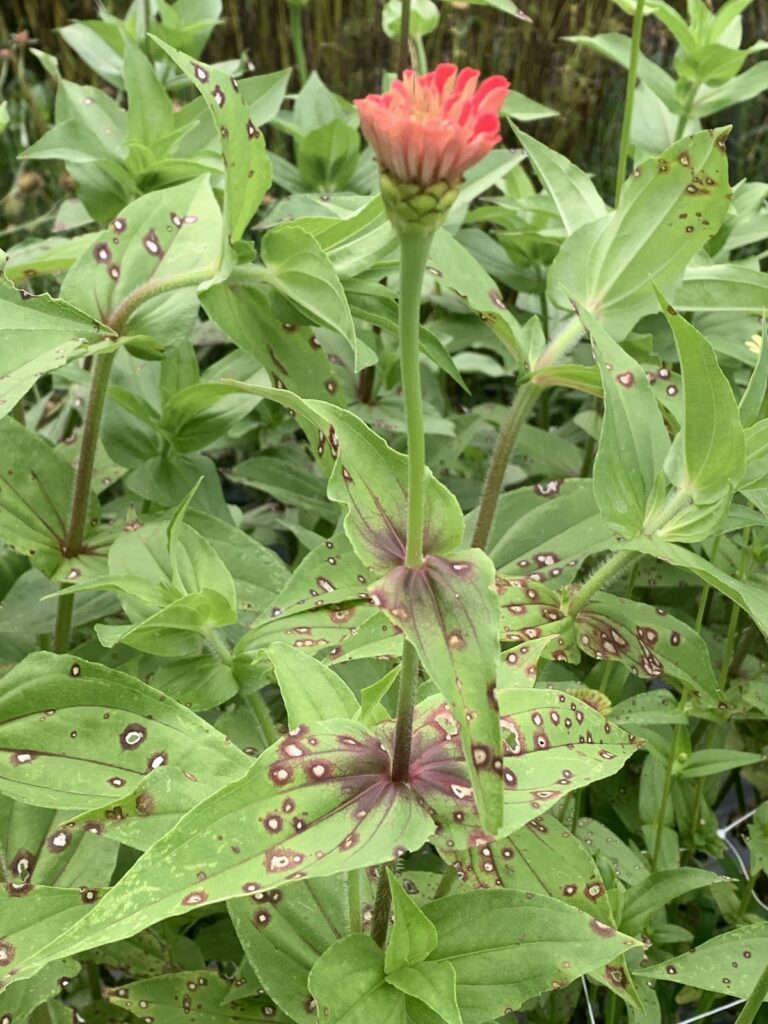
I live in the southeast, where it’s not only hotter than blue blazes, but the humid air is as thick as brown gravy (my grandmother would say). This, along with frequent afternoon thunderstorms, will cause bacterial leaf spot and powdery mildew on zinnia stems and leaves. I pick off affected leaves and try to keep good spacing between plants. The spots have never killed my zinnias, so I don’t worry too much about it. Again, I don’t use any sprays in my garden. When you garden organically, you’ll have some blemishes.
Harvesting zinnias
Once the flowers bloom, check to see they’re ready to harvest by giving them a wiggle. Grab the plant 6-8” below the flower and gently shake. If the stem is strong enough that the flower doesn’t rock back and forth the zinnia is mature enough to harvest.
The more you cut, the more they flower. When cutting, follow the stem down to a desired length and cut above a leaf set. Be careful not to cut the next set of stems that will emerge. Never hold the zinnia between the flower and the first set of leaves from the top, this is where it’s the most delicate. You may accidentally pinch it and cause damage such that the flower will collapse over and can not be corrected. Always hold the stems further down when stripping the leaves.
Saving and acquiring zinnia seeds
I grow all my varieties in the same space, and zinnias will cross pollinate. Thus, saving seeds results in a guessing game with respect to color, size and variety. there are certain varieties I love to grow, so I chose to buy seeds from controlled growers. This way I know exactly what I am getting every year. My favorite suppliers are Johnny’s Seeds, Floret (when you can get them) and Swallowtail Garden Seeds.
There are 3 classes of Zinnias: Dwarf, Landscaping, and Tall (Cutting)
- Dwarf (under 10”) – Magellan, Thumbelina, and Dreamland Series
- Landscaping (up to 20”) – Zahara and Profusion Series
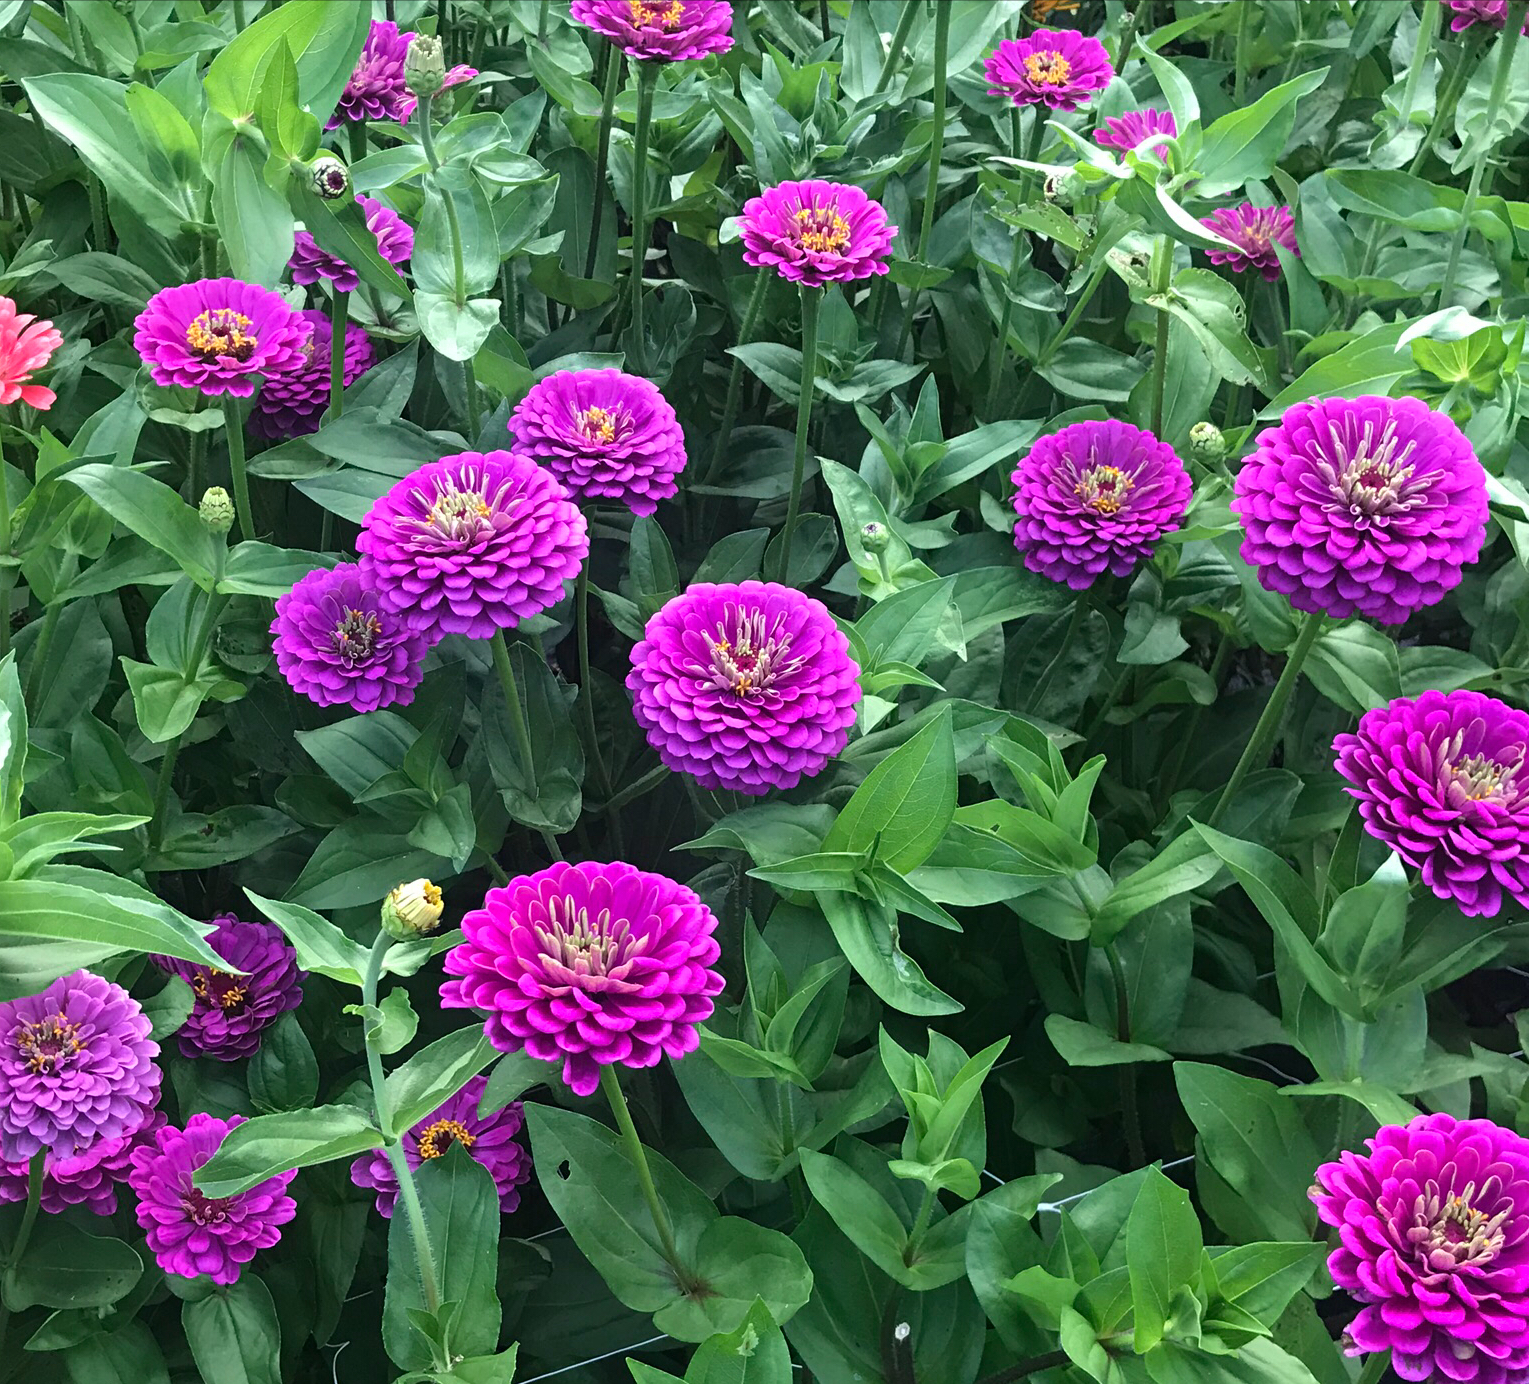
- Tall/Cut Flower (36″+) – Benary’s Giants, Queen Lime, Oklahoma Series and Unicorn Mix from Floret
Conclusion
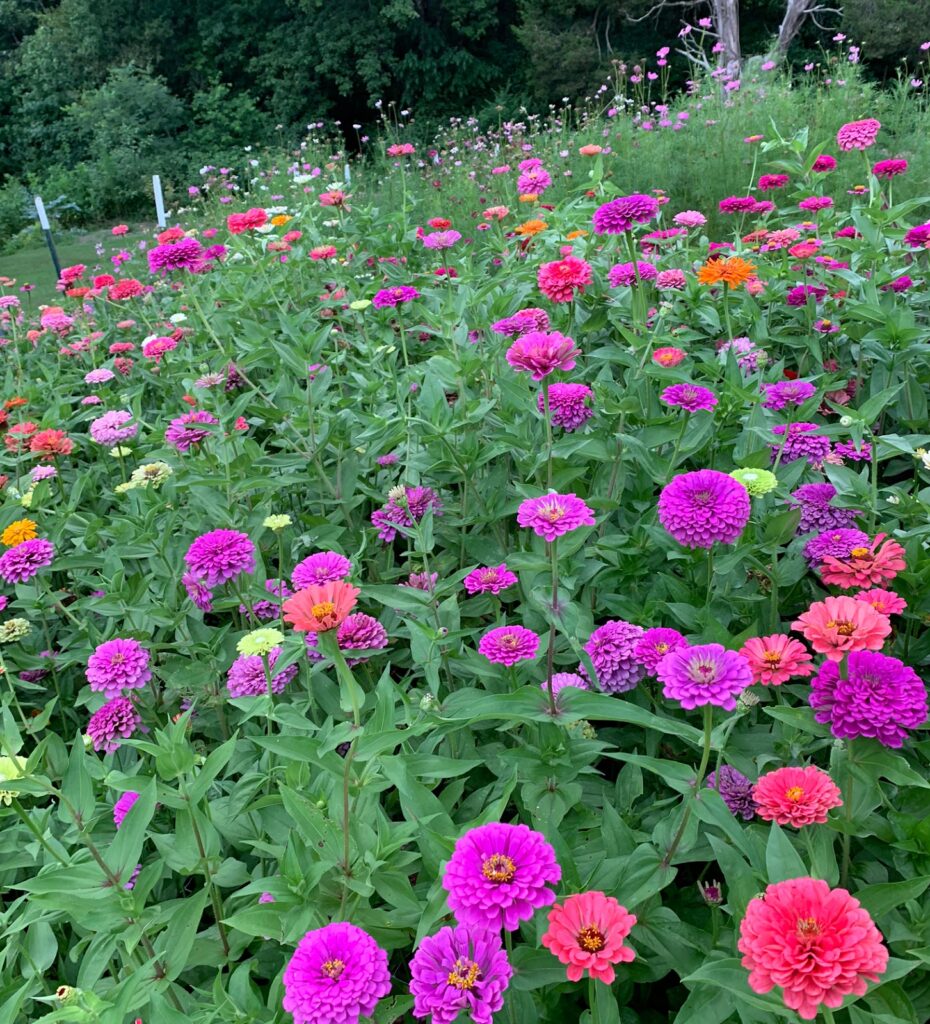
There is nothing like walking in an organic garden with hundreds of bees and butterflies dancing about, zinnias and cosmos swaying in the summer breeze, having hummingbirds fly up to say hello. Here’s to knowing that everything is how it should be in my little garden of Eden! Cheers!


Thank you for all of the information.
I planted a pack of wildflower seeds and these came up.
They are blooming and I had no idea what they were.
Your pictures told me what they are and how to care for them.
Thank you.
Hi Lisa
Did you feel it was profitable for all the time spent?
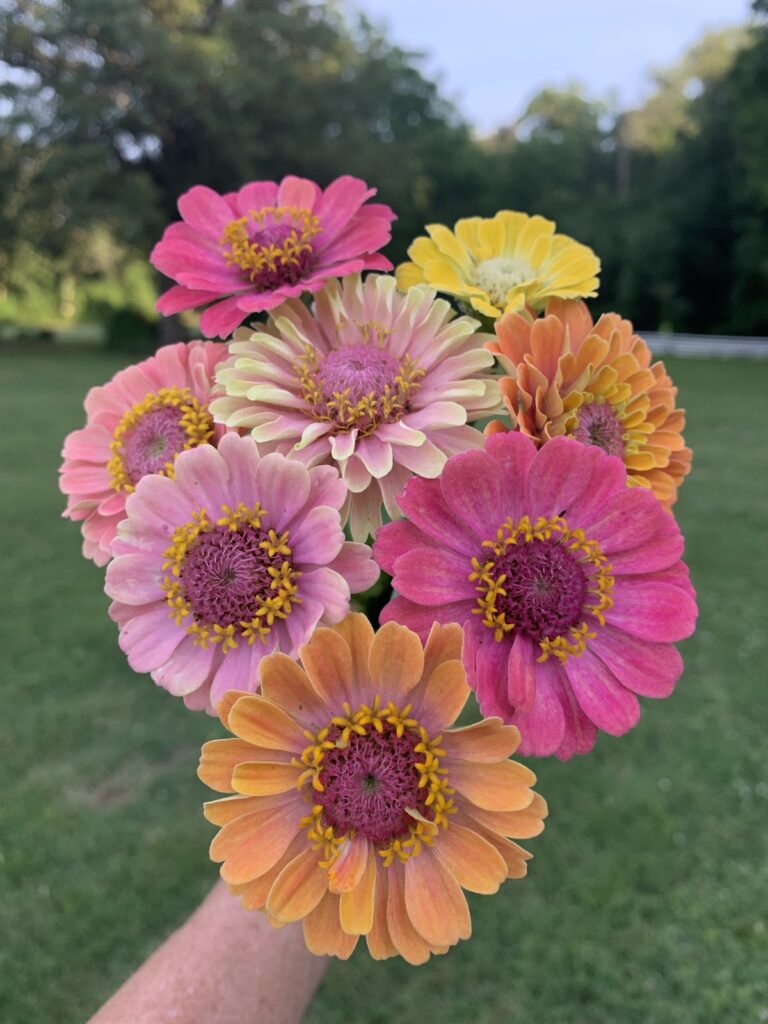
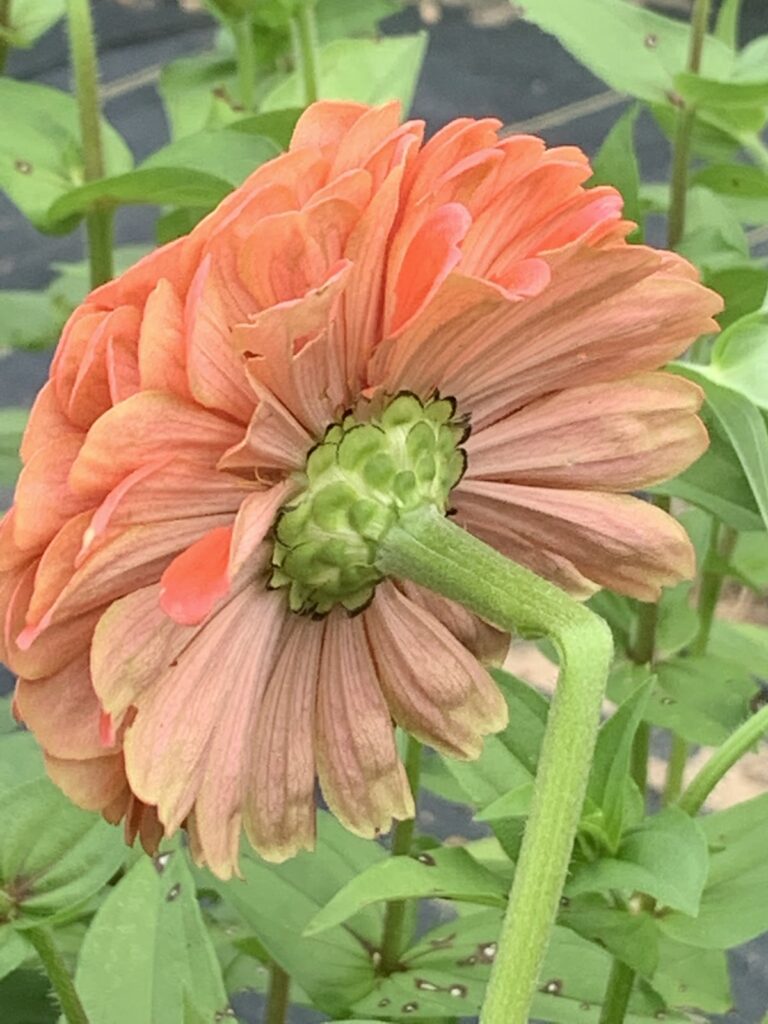
Thank you for this very helpful article. I was curious… what varieties of zinnias are in the picture at the top of the post? Also, what varieties of zinnias are in the picture on the left just above the “Seedlings” section.? Is it one variety or a combination of several varieties? Thank you so much for your help!
What do you do about white powder on your zinnias??? Mine were beautiful most of the summer but once that hit one plant the entire row was touched by the mildew. I grew the Tall/cut flower varieties.
❤